
How to enable the Linux / Bash subsystem in Windows 10
Like many people, I was excited to learn about the new Linux subsystem in Windows announced by Microsoft earlier this year (See Bash on Windows: The scripting game just changed).
Along with others, I’ve been playing with it on the Windows Insider builds but now that the Windows Anniversary Update has been released, everyone can get in on the action.
Activating the Linux Subsystem in Windows
Once you’ve updated to the Anniversary Update of Windows, here’s what you need to do.
Open settings
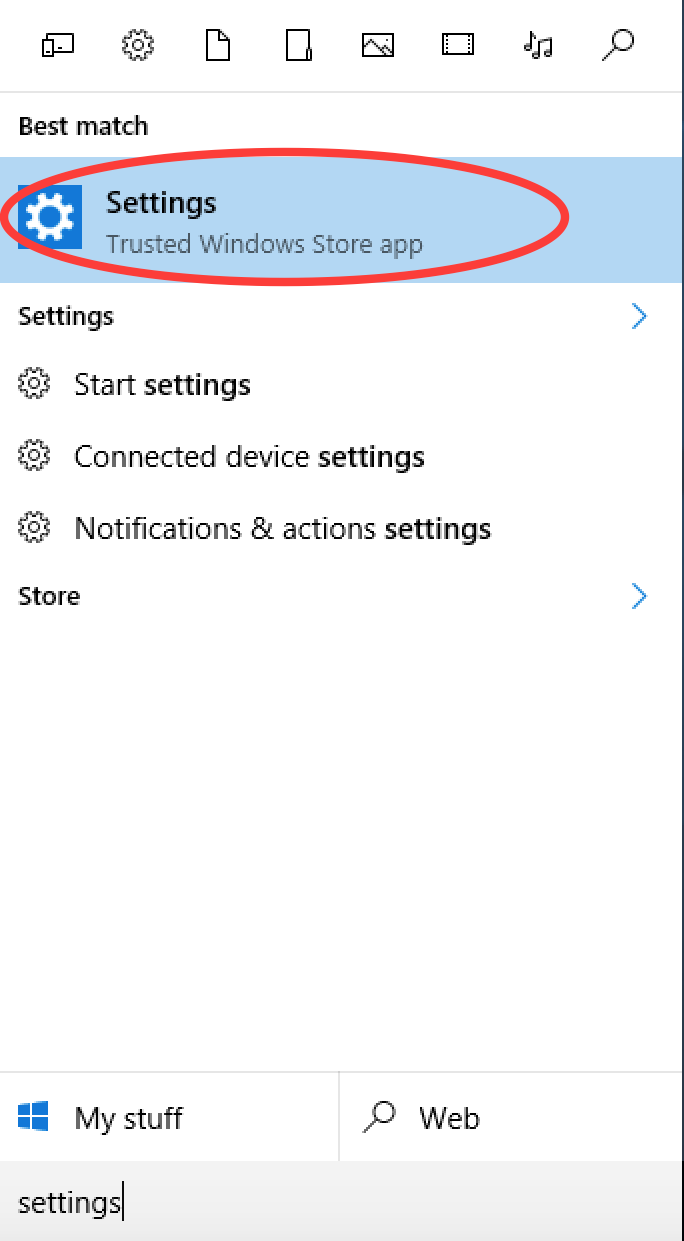
In settings, click on Update and Security

In Update and Security, click on For developers in the left hand pane. Then click on Developer mode.

Take note of the Use developer features warning and click Yes if you are happy. Developer mode gives you greater power, and with great power comes great responsibility.

Reboot the machine (may not be necessary here but it’s what I did).
Search for Features and click on Turn Windows features on or off
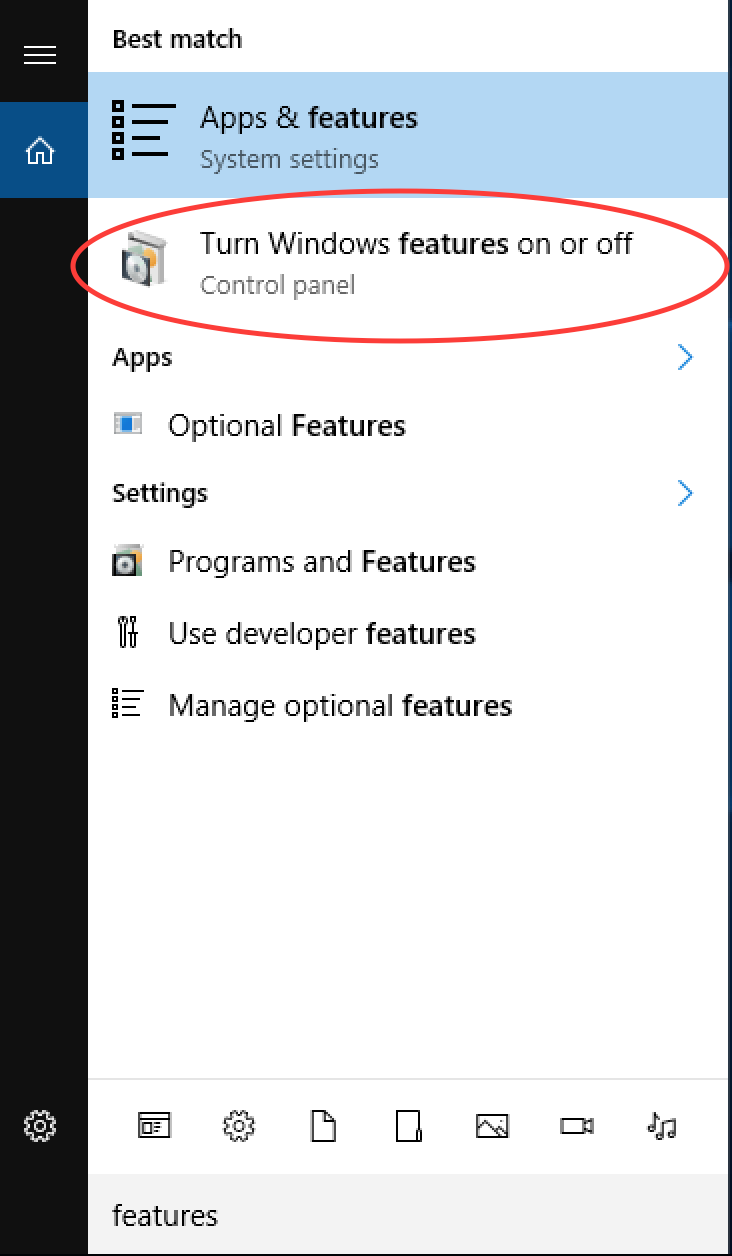
Tick Windows Subsystem for Linux (Beta) and click OK

When it’s finished churning, reboot the machine.
Launch cmd.exe
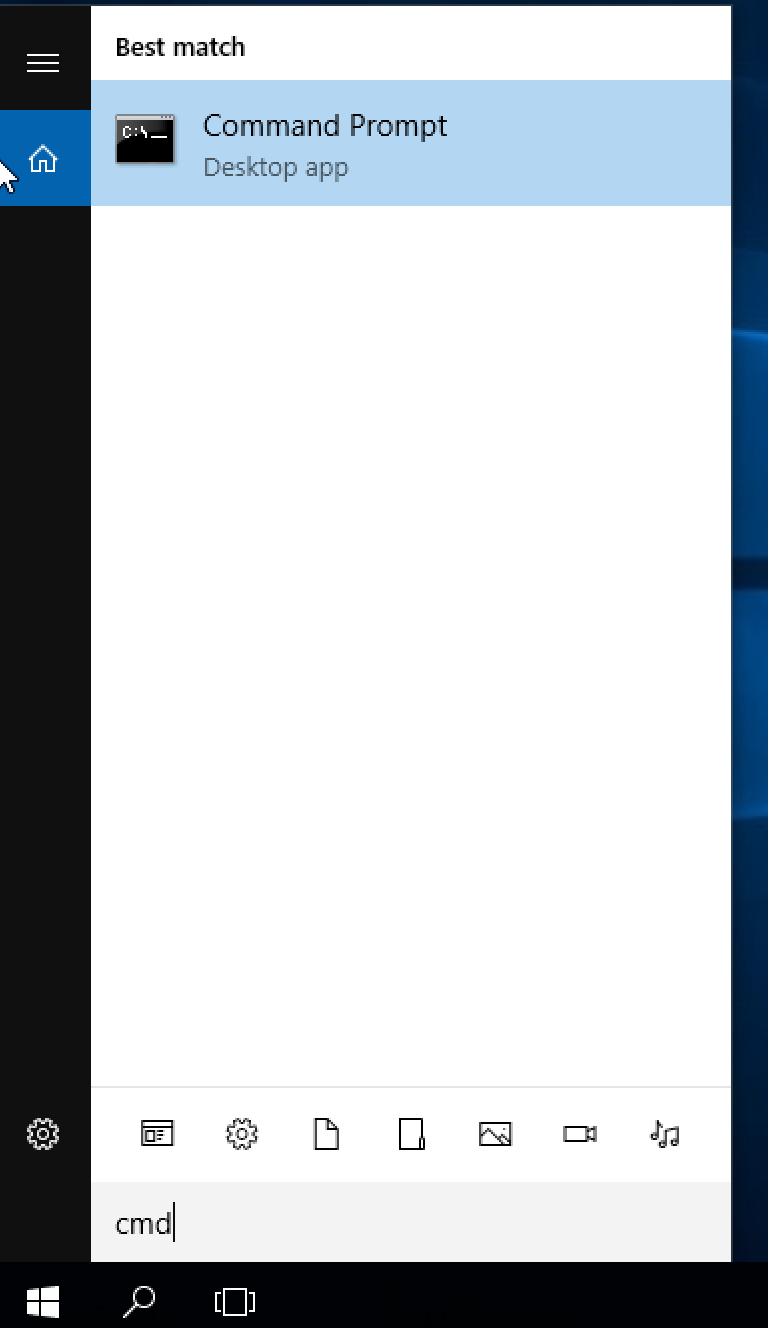
Type bash, press enter and follow the instructions
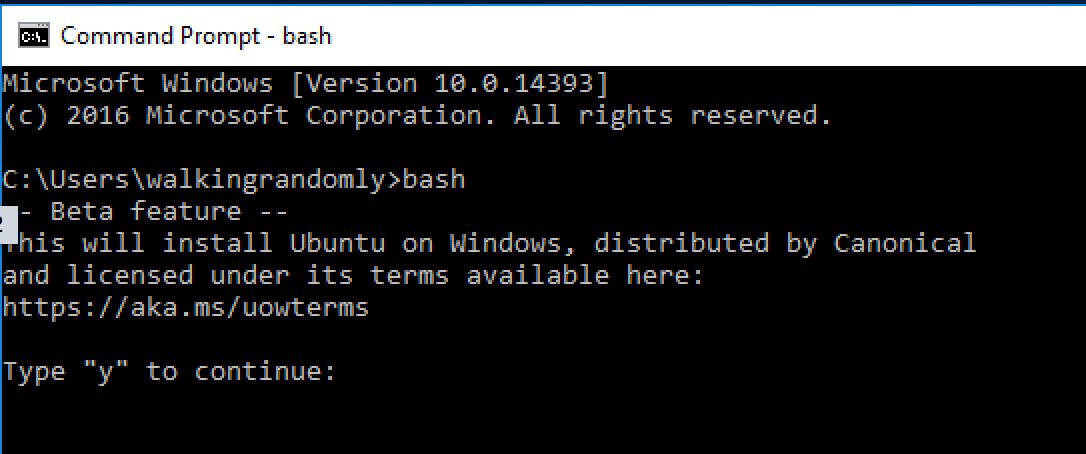
The linux subsystem will be downloaded from the windows store and you’ll be asked to create a Unix username and password.
Try something linux-y
The short version of what’s available is ‘Every userland tool that’s available for Ubuntu’ with the caveat that anything requiring a GUI won’t work.
This isn’t emulation, it isn’t cygwin, it’s something else entirely. It’s very cool!
The gcc compiler isn’t installed by default so let’s fix that:
sudo apt-get install gcc
Using your favourite terminal based editor (I used vi), enter the following ‘Hello World’ code in C and call it hello.c.
/* Hello World program */

#include

int main()
{
    printf("Hello World from C\n");

    return(0);
}
Compile using gcc
gcc hello.c -o hello
Run the executable
./hello
Hello World from C
Now, transfer the executable to a modern Ubuntu machine (I just emailed it to myself) and run it there.
That’s right – you just wrote and compiled a C-program on a Windows machine and ran it on a Linux machine.
Now install cowsay — because you can:
sudo apt-get install cowsay
cowsay 'Hello from Windows'
 ____________________
< Hello from Windows >
 --------------------
        \   ^__^
         \  (oo)\_______
            (__)\       )\/\
                ||----w |
                ||     ||
Update 1:
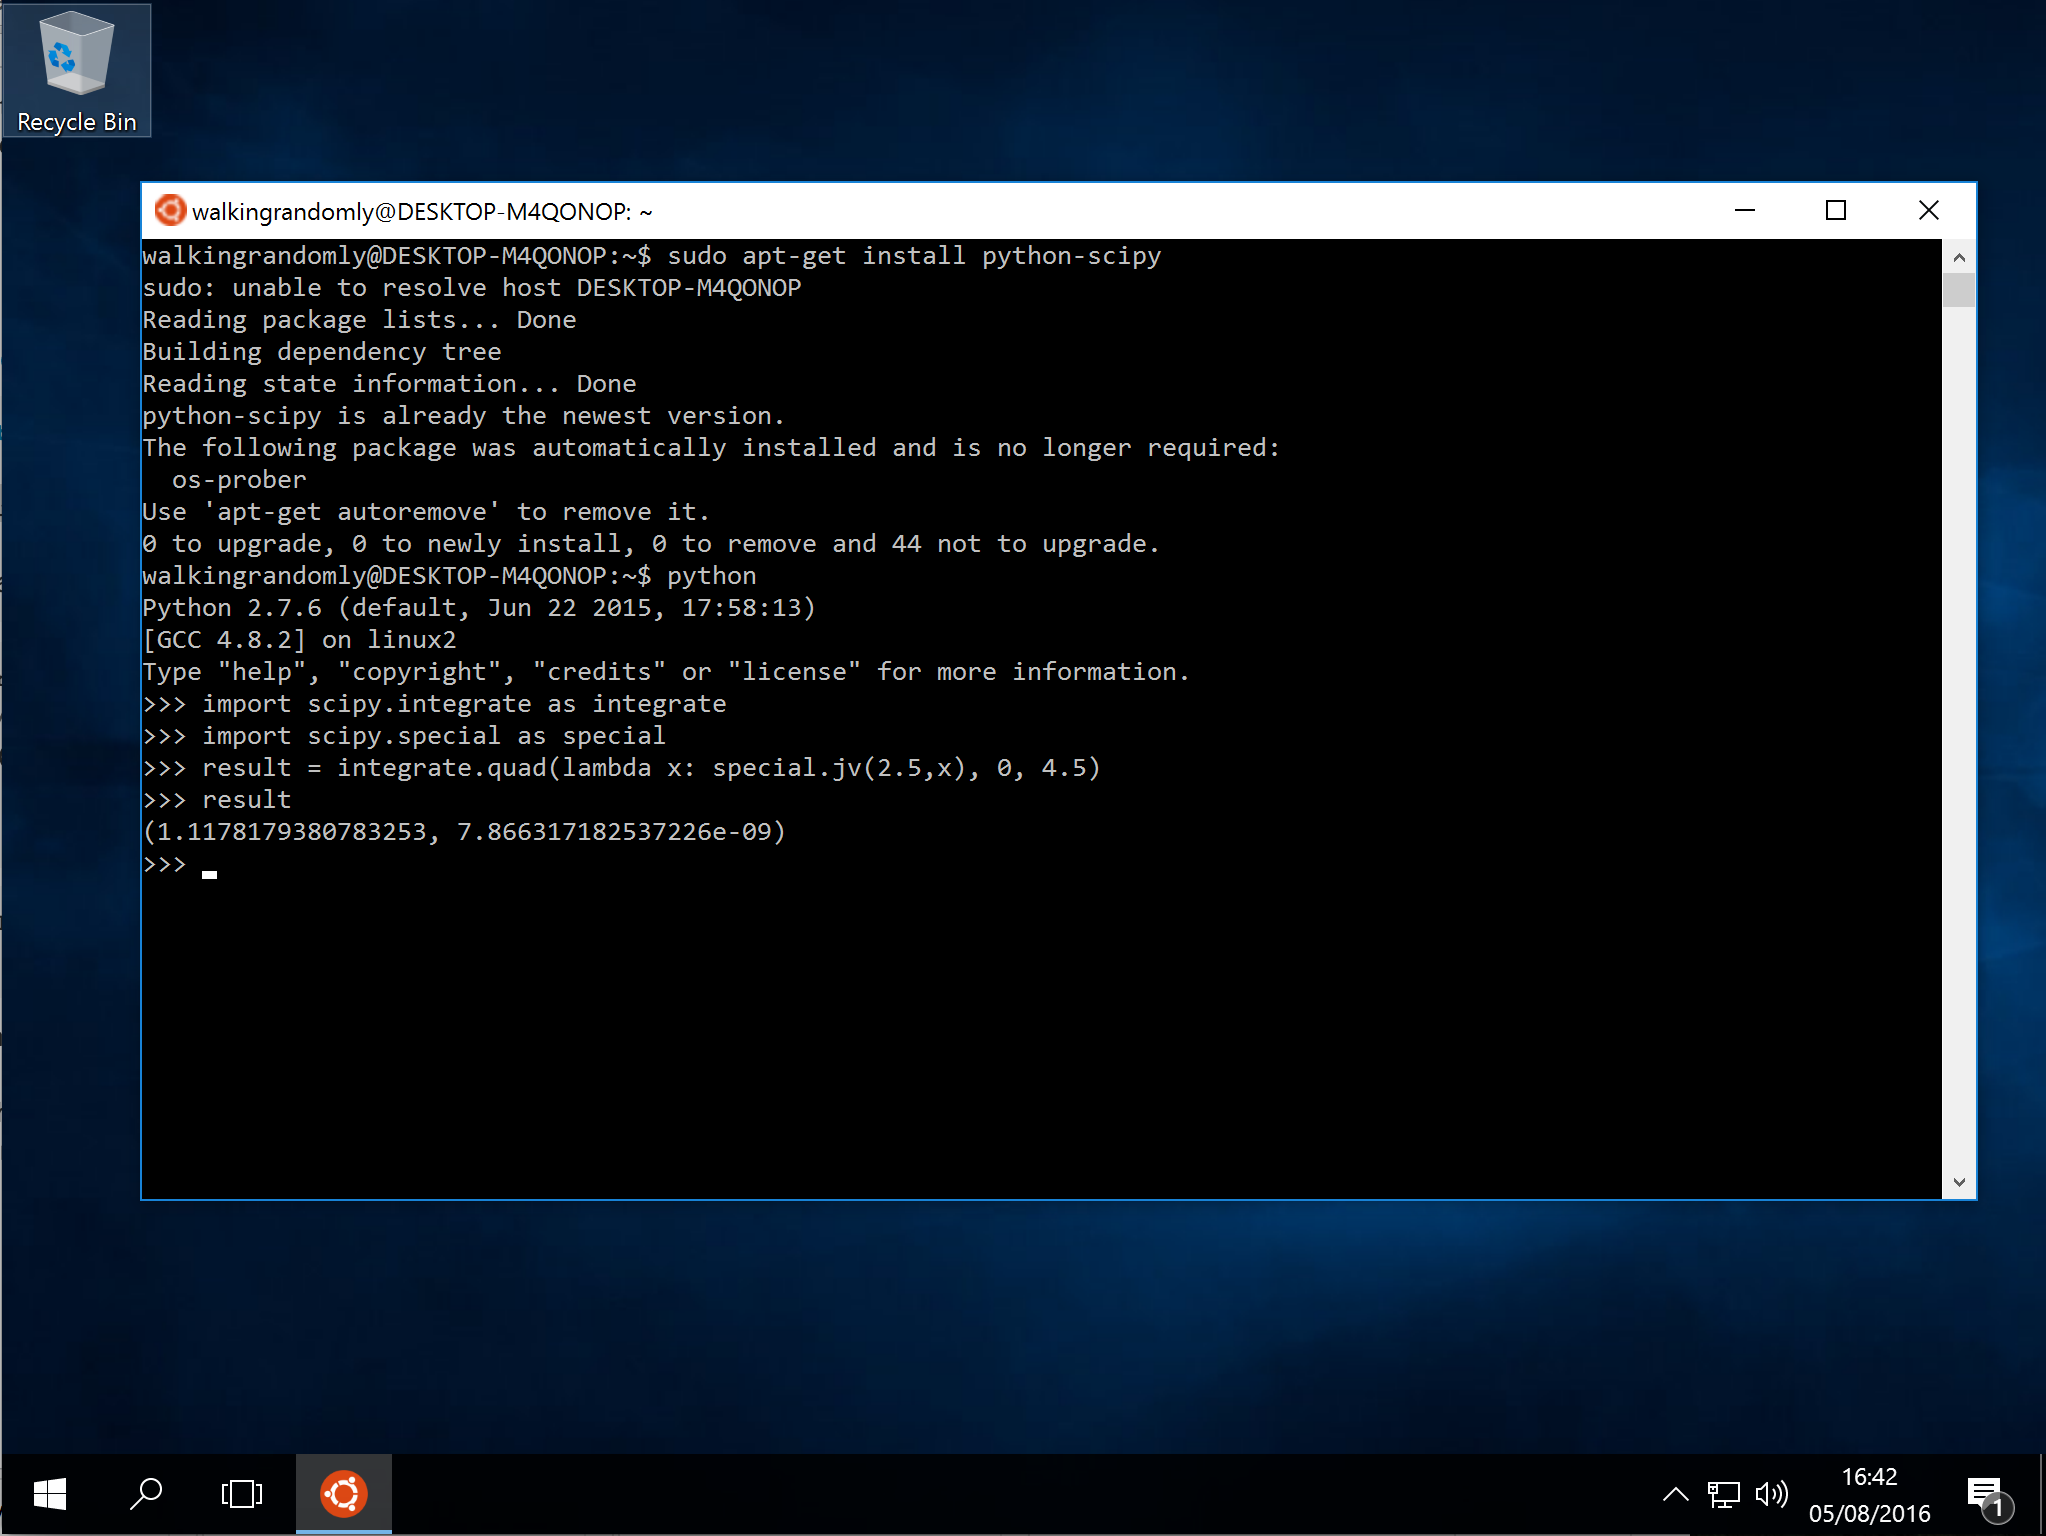
I was challenged by @linuxlizard to do a follow up tutorial that showed how to install the scientific Python stack — Numpy, SciPy etc.
@walkingrandomly Follow up with HOWTO on installing NumPy, SiPy, Pillow, etc. :-)
— David Poole (@linuxlizard) August 5, 2016
It’s all there :)
sudo apt-get install python-scipy
Update 2
TensorFlow on LinuxOnWindows is also easy: http://www.hanselman.com/blog/PlayingWithTensorFlowOnWindows.aspx
Will it be possible to run different distributions in parallel in this?
Right now – I don’t think so.
Long term – I don’t see why not.
Summary of my experiences
Ian Cottam, University of Manchester, School of Computer Science
Mostly very good. Most issues I have had to-date could be resolved by Googling.
1. You must be running 64bit Windows 10 for Mike’s instructions to work. 32 bit Windows simply does not support the Linux subsystem.
2. sudo and one or two other things hang for a long time at first. This is because they are trying to DNS resolve your hostname and fail. Fix it by adding a line to /etc/hosts directly after the line that says: 127.0.0.1 localhost. I added 127.0.0.1 DESKTOP-FBR3EDS
3. You can get many X things to work by running an X server under Windows 10. I just Googled for Xming and it was trivial to download and install. Just run it before you run “Bash on Ubuntu on Windows” from the start menu. Remember to also type: export DISPLAY=:0
4. xterm works for me and looks better on my display when run as xterm -rv
5. Smallish C and Bash programs have just worked without modification.
6. My issues are that while I can get full emacs to work in a terminal, the X version hangs with lots of error messages. Firefox is similar, but if you redirect its error messages to /dev/null – i.e. firefox 2>/dev/null – it is fast enough to use, although of course you can always use the native Windows browsers.
7. I had to sudo apt-get install lots of things (and have missed out such steps from the above narrative).